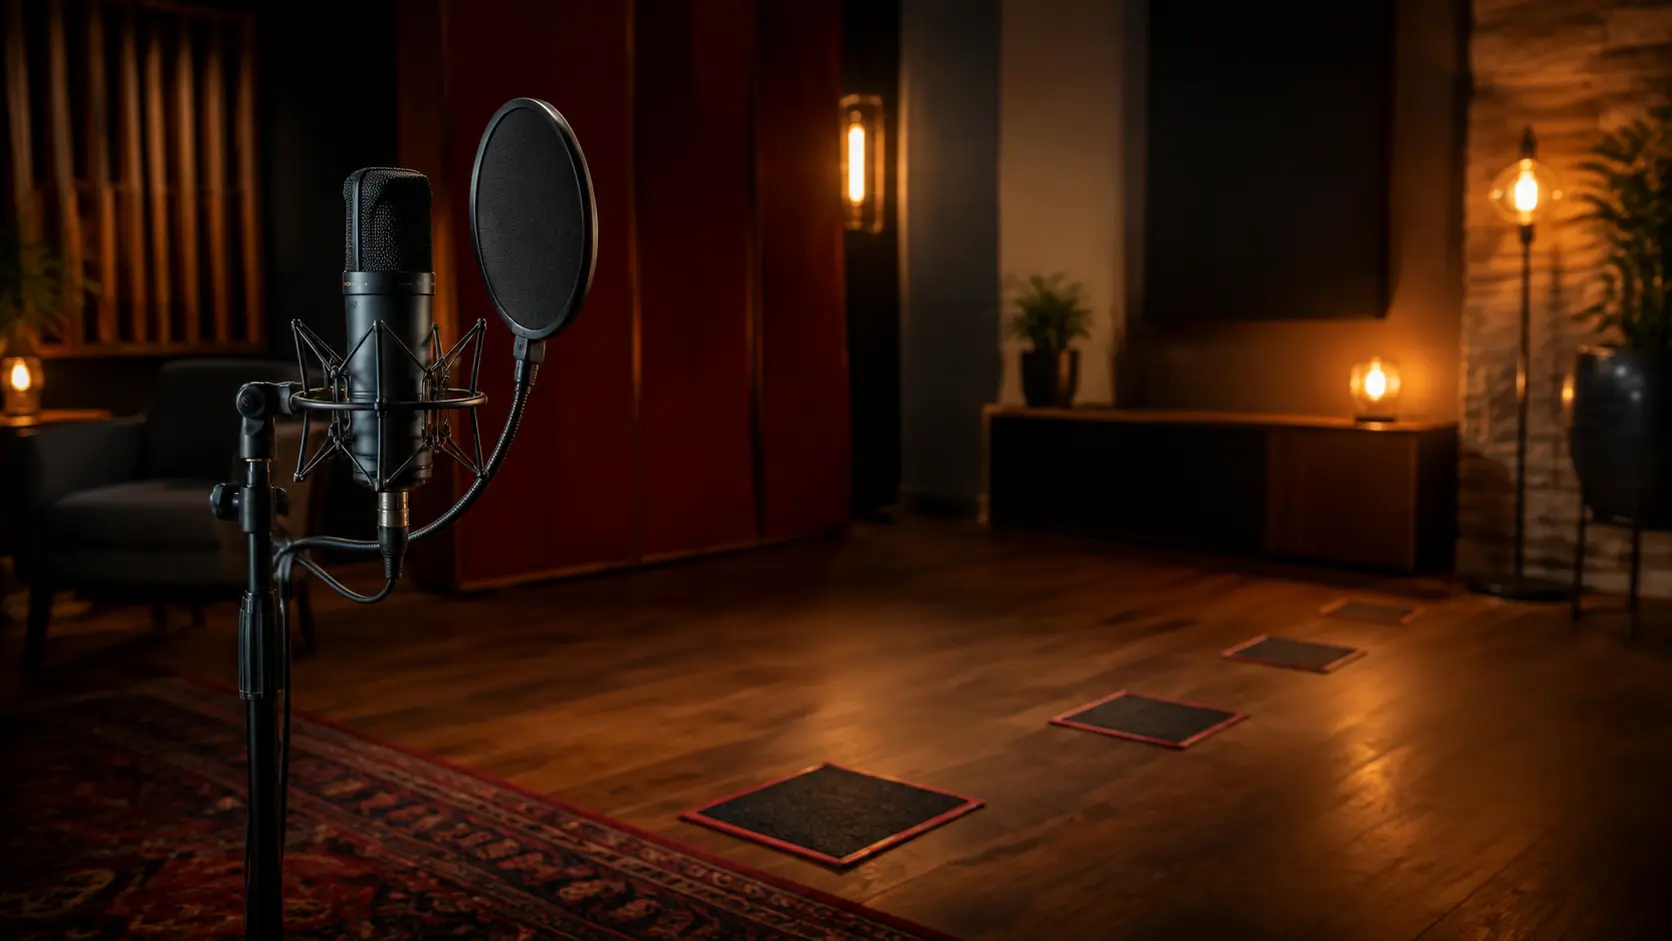
Let’s answer the question before Google makes you read somebody’s childhood story:
Start about 6 inches from the microphone.
That’s roughly the distance from your thumb to your pinky when you spread your hand.
Then record something.
If your voice sounds too boomy, back up a little.
If you’re hearing too much of the room, move a little closer.
That’s basically it.
There is no sacred microphone distance handed down by the audio gods.
Six inches is a starting point. Your ears decide the rest.
Why Does Microphone Distance Matter?
Because your microphone hears differently depending on where you stand.
Get very close and your voice can sound bigger, warmer and bassier.
Move farther away and you’ll usually get less of that extra bass—but you’ll also start hearing more of the room.
So microphone distance is basically a balance between:
Your voice sounding good
and
your bedroom joining the song without being invited.
Too Close? Welcome to Proximity Effect.
Here’s your engineering word for the day:
It simply means that many directional microphones pick up more bass when you’re very close to them.
That’s why somebody talking directly into a microphone can suddenly develop that giant:
“WELCOME TO LATE-NIGHT RADIO.”
voice.
Sometimes that’s useful.
Sometimes your vocal sounds like it gained 40 pounds.
If your recording sounds muddy, boomy or way bassier than your actual voice, move back a few inches before reaching for an EQ.
Congratulations.
You just EQ’d your vocal without touching an EQ.
Too Far Away? Now We’re Recording the Bedroom.
Moving farther away reduces that close-up bass boost.
Great.
Keep backing up, though, and another problem appears.
Your microphone starts hearing more of everything else.
Your walls.
Your ceiling.
Your computer fan.
The neighbor apparently rearranging furniture for no fucking reason.
Your voice is still there—but now the room is becoming part of the recording.
In a beautiful professional studio, that can actually sound great.
In an untreated bedroom?
Maybe not so much.
If your vocal sounds distant, hollow or like you’re singing from the bathroom down the hall, you may simply be too far from the microphone. If the room is still winning, work through these seven common vocal-recording problems.
Start at Six Inches
For most beginner vocal recordings with a cardioid studio microphone, I like this as an easy starting point:
About 6 inches away.
That starting point sits inside the 6-to-12-inch range commonly used for studio vocals.
Put up your pop filter.
Get into position.
Record a few lines.
Listen.
Then move.
Try 4 inches.
Try 8 inches.
Try 10.
You’re looking for the place where your voice sounds full and clear without your room becoming a featured artist.
That spot is your starting position.
And yes, it can change depending on the microphone, singer and song. If the microphone itself seems to emphasize harshness or sibilance, read AT2020 Vocals Sound Harsh? Stop Trying to EQ It to Death.
Your Volume Matters Too
If you’re singing softly, getting a little closer can create a more intimate sound.
If you’re about to belt like the rent is due tomorrow?
Back up.
A louder singer sends much more sound toward the microphone.
Moving slightly farther away can help keep the recording under control.
This is also why good singers don’t always stand completely still while recording.
They learn how to work the microphone.
Quiet phrase?
Closer.
Huge note?
Pull back.
You don’t need choreography.
Just don’t scream into the capsule from three inches away and then wonder why the waveform looks like a Pop-Tart.
What About S Sounds?
If your S and T sounds are attacking the microphone like they’ve got personal issues, distance isn’t your only option.
Try turning slightly away from the microphone.
Not sideways.
Just a little.
You can also position the microphone slightly above or below your mouth instead of aiming it directly at the stream of air coming out of your face.
Sometimes a tiny change in angle can calm down harsh consonants before you ever reach for a de-esser.
Again:
Fix it while recording when you can.
Use a Pop Filter
A pop filter isn’t there because recording studios needed another circular object.
It helps control those bursts of air created by sounds like P and B.
Say “popcorn” with your hand in front of your mouth.
Feel that little blast of air?
Your microphone feels it too.
A pop filter helps break up that burst of air before it smacks directly into the microphone.
It also has a second extremely convenient use:
distance marker.
If you’ve found the position where your voice sounds good, place the pop filter where it helps you return to roughly the same spot.
Now you don’t have to measure your face every time you record.
Consistency Matters More Than Perfection
Once you’ve found a good distance, try to stay reasonably close to it.
If you’re 4 inches away for one line, 12 inches away for the next and practically licking the microphone after that, the sound keeps changing.
That gives you more work later.
You don’t need to stand frozen like you’re taking a driver’s-license photo.
Just be aware that moving changes the sound.
The 2-Minute Test
Don’t overthink this.
Record the same line three times:
- Take 1: about 4 inches away.
- Take 2: about 6 inches away.
- Take 3: about 10 inches away.
No plugins.
Listen back.
Which one sounds most like the version of your voice you’d actually want to mix?
There’s your answer.
Not YouTube’s answer.
Not mine.
Yours.
The Bottom Line
If you don’t know how far to stand from your microphone when recording vocals:
Start around 6 inches away.
Then listen.
Too boomy?
Back up.
Too much room?
Move closer.
S sounds trying to kill somebody?
Try changing the microphone angle.
Belting?
Give the mic a little more space.
And once you find the sweet spot, stay reasonably consistent.
Microphone placement is one of the easiest ways to improve a vocal recording—and unlike another plugin…
moving your head three inches is free.
---
Want the placement cheat sheet?
Get the quick reference for vocal distance, off-axis placement, room position, pop-filter use and the four-take placement test.
**Download the Vocal Mic Placement Cheat Sheet - $7 →**
Or get all five vocal guides in the **Bedroom Vocal Survival Kit - $29 →**